
Snowflake Integration | Direct Import
Planner has the ability to pull data in directly from Snowflake. This is useful for those using Snowflake as a central repository for Planning data inputs. You can update most header data in the Planner to keep your inventory up to date.
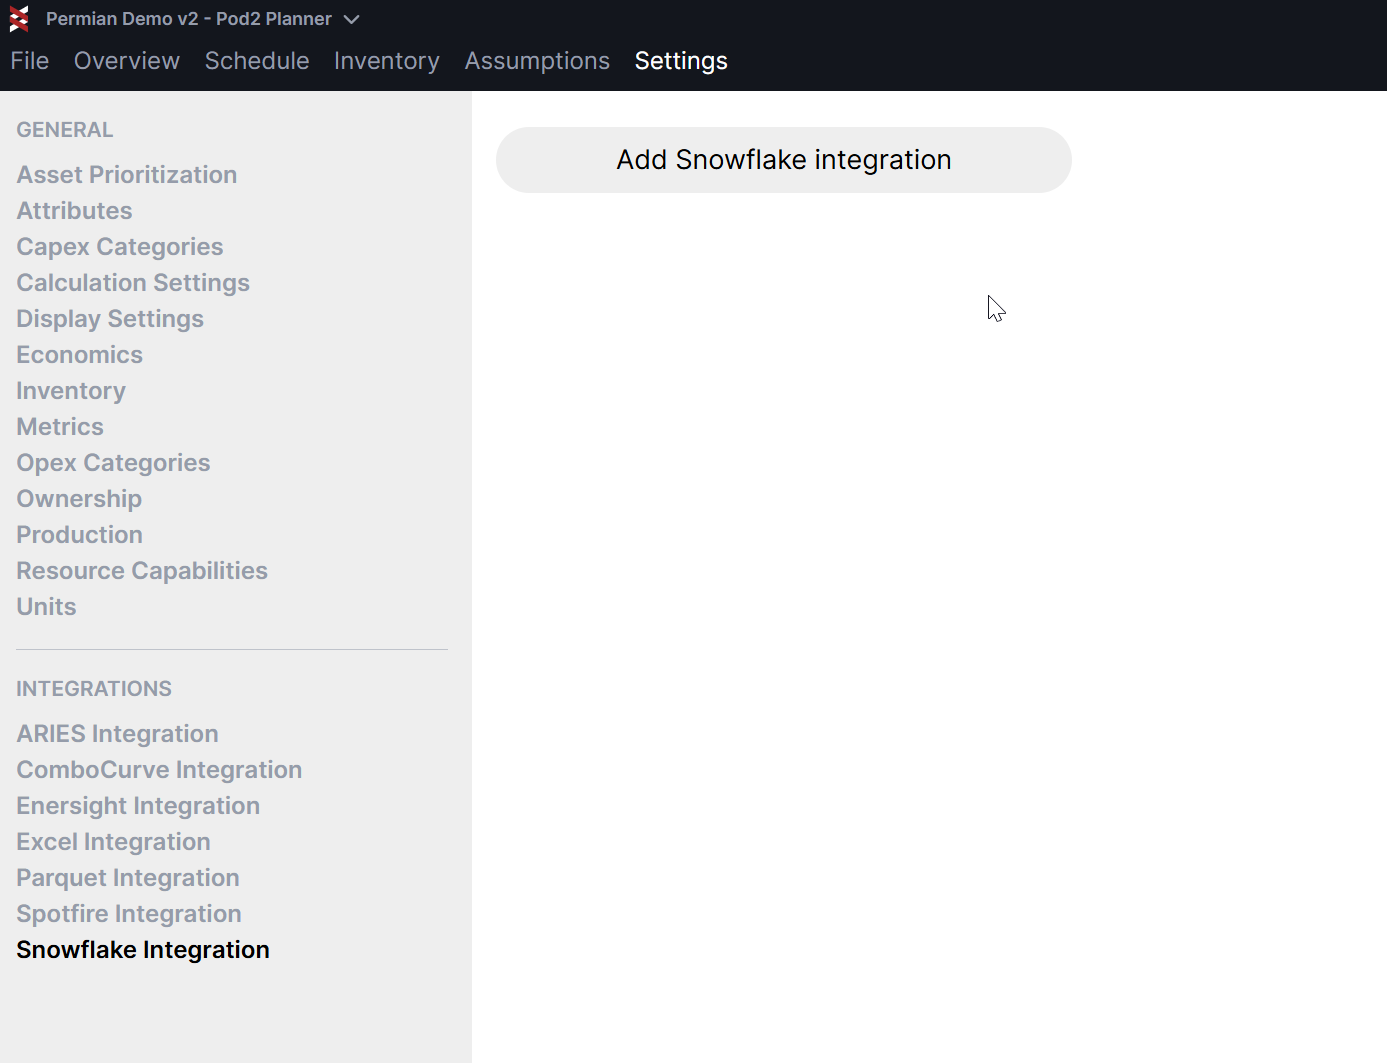
To get started with a Snowflake connection, navigate to Settings > Integrations > Snowflake Integration and hit "Add Snowflake integration"
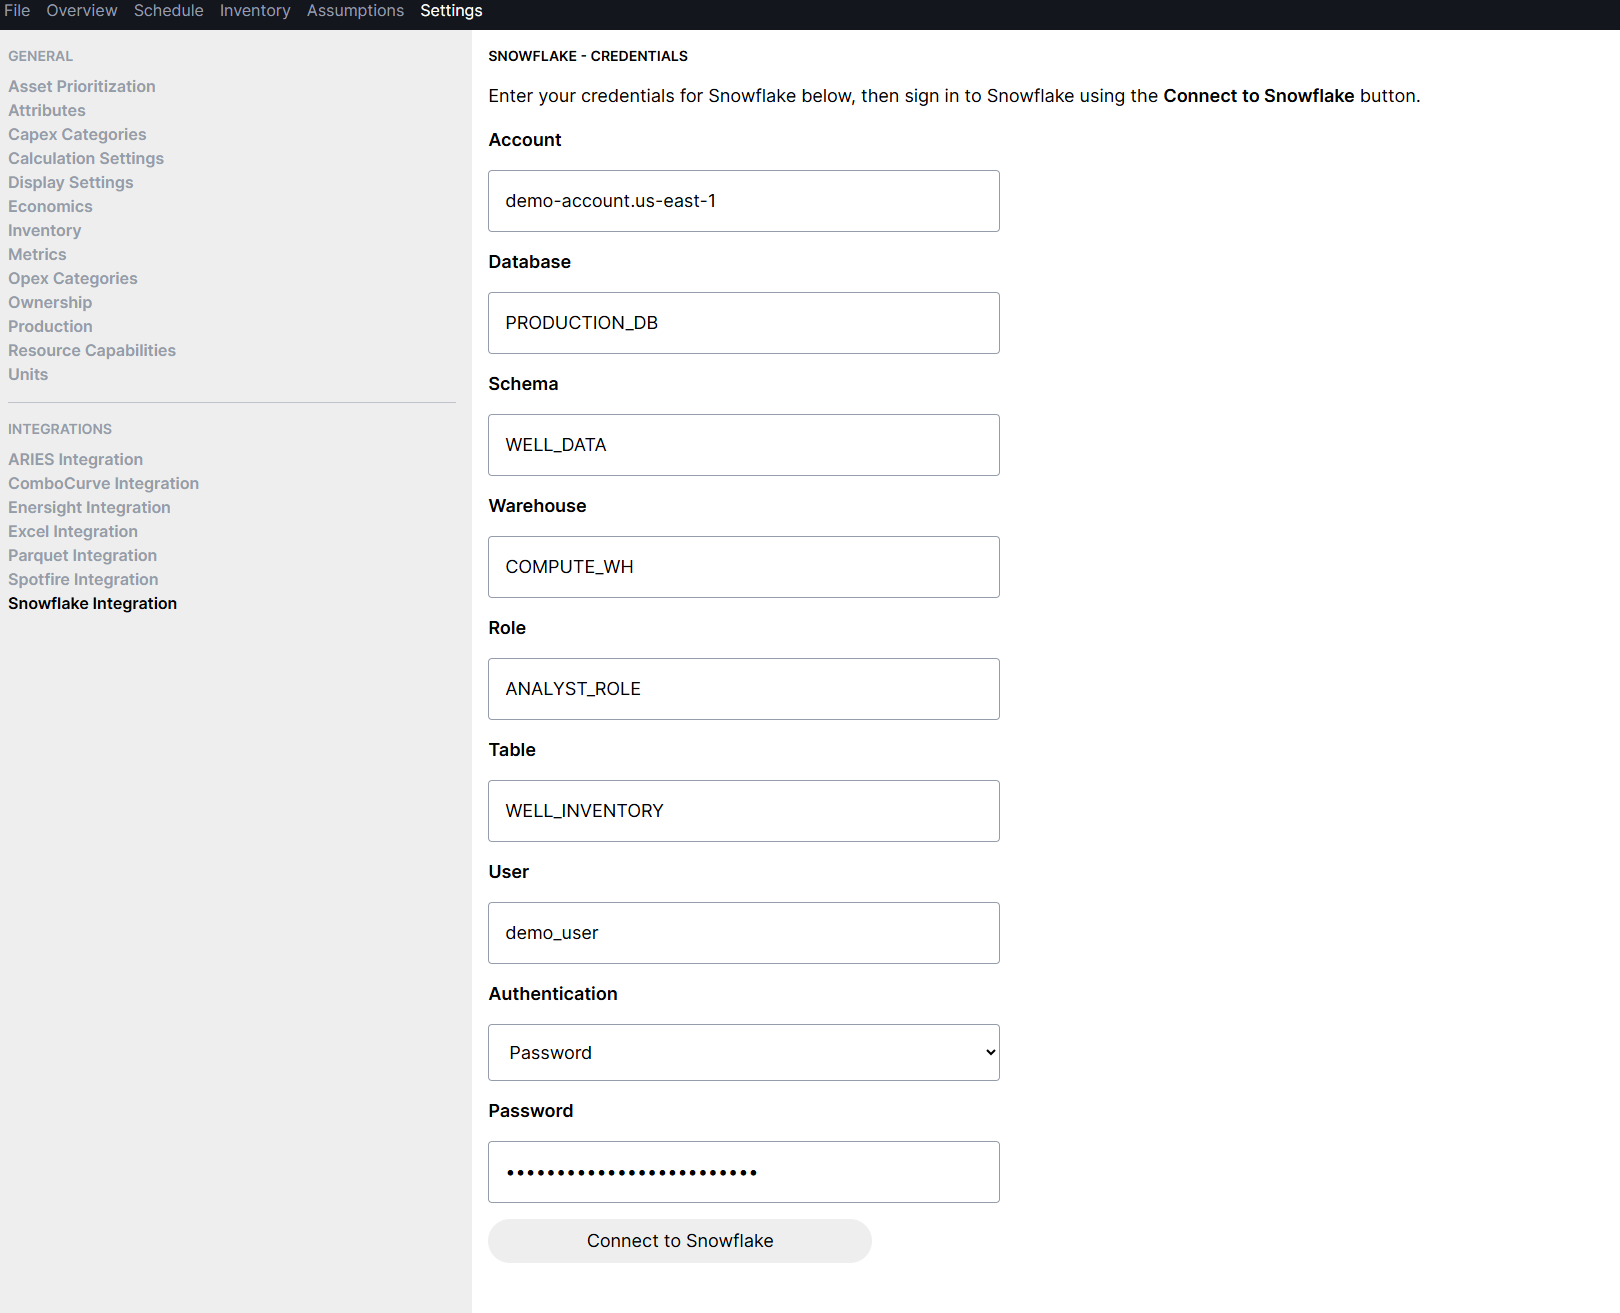
Input your account credentials and the fields shown below. You can use a password or key-pair authentication. If logging in in using a key-pair auth, you must upload a .env file with these two environment variables populated:
POD2_SNOWFLAKE_PRIVATE_KEY_PATH ="/Desktop"
POD2_SNOWFLAKE_PRIVATE_KEY_PASSPHRASE = "test"
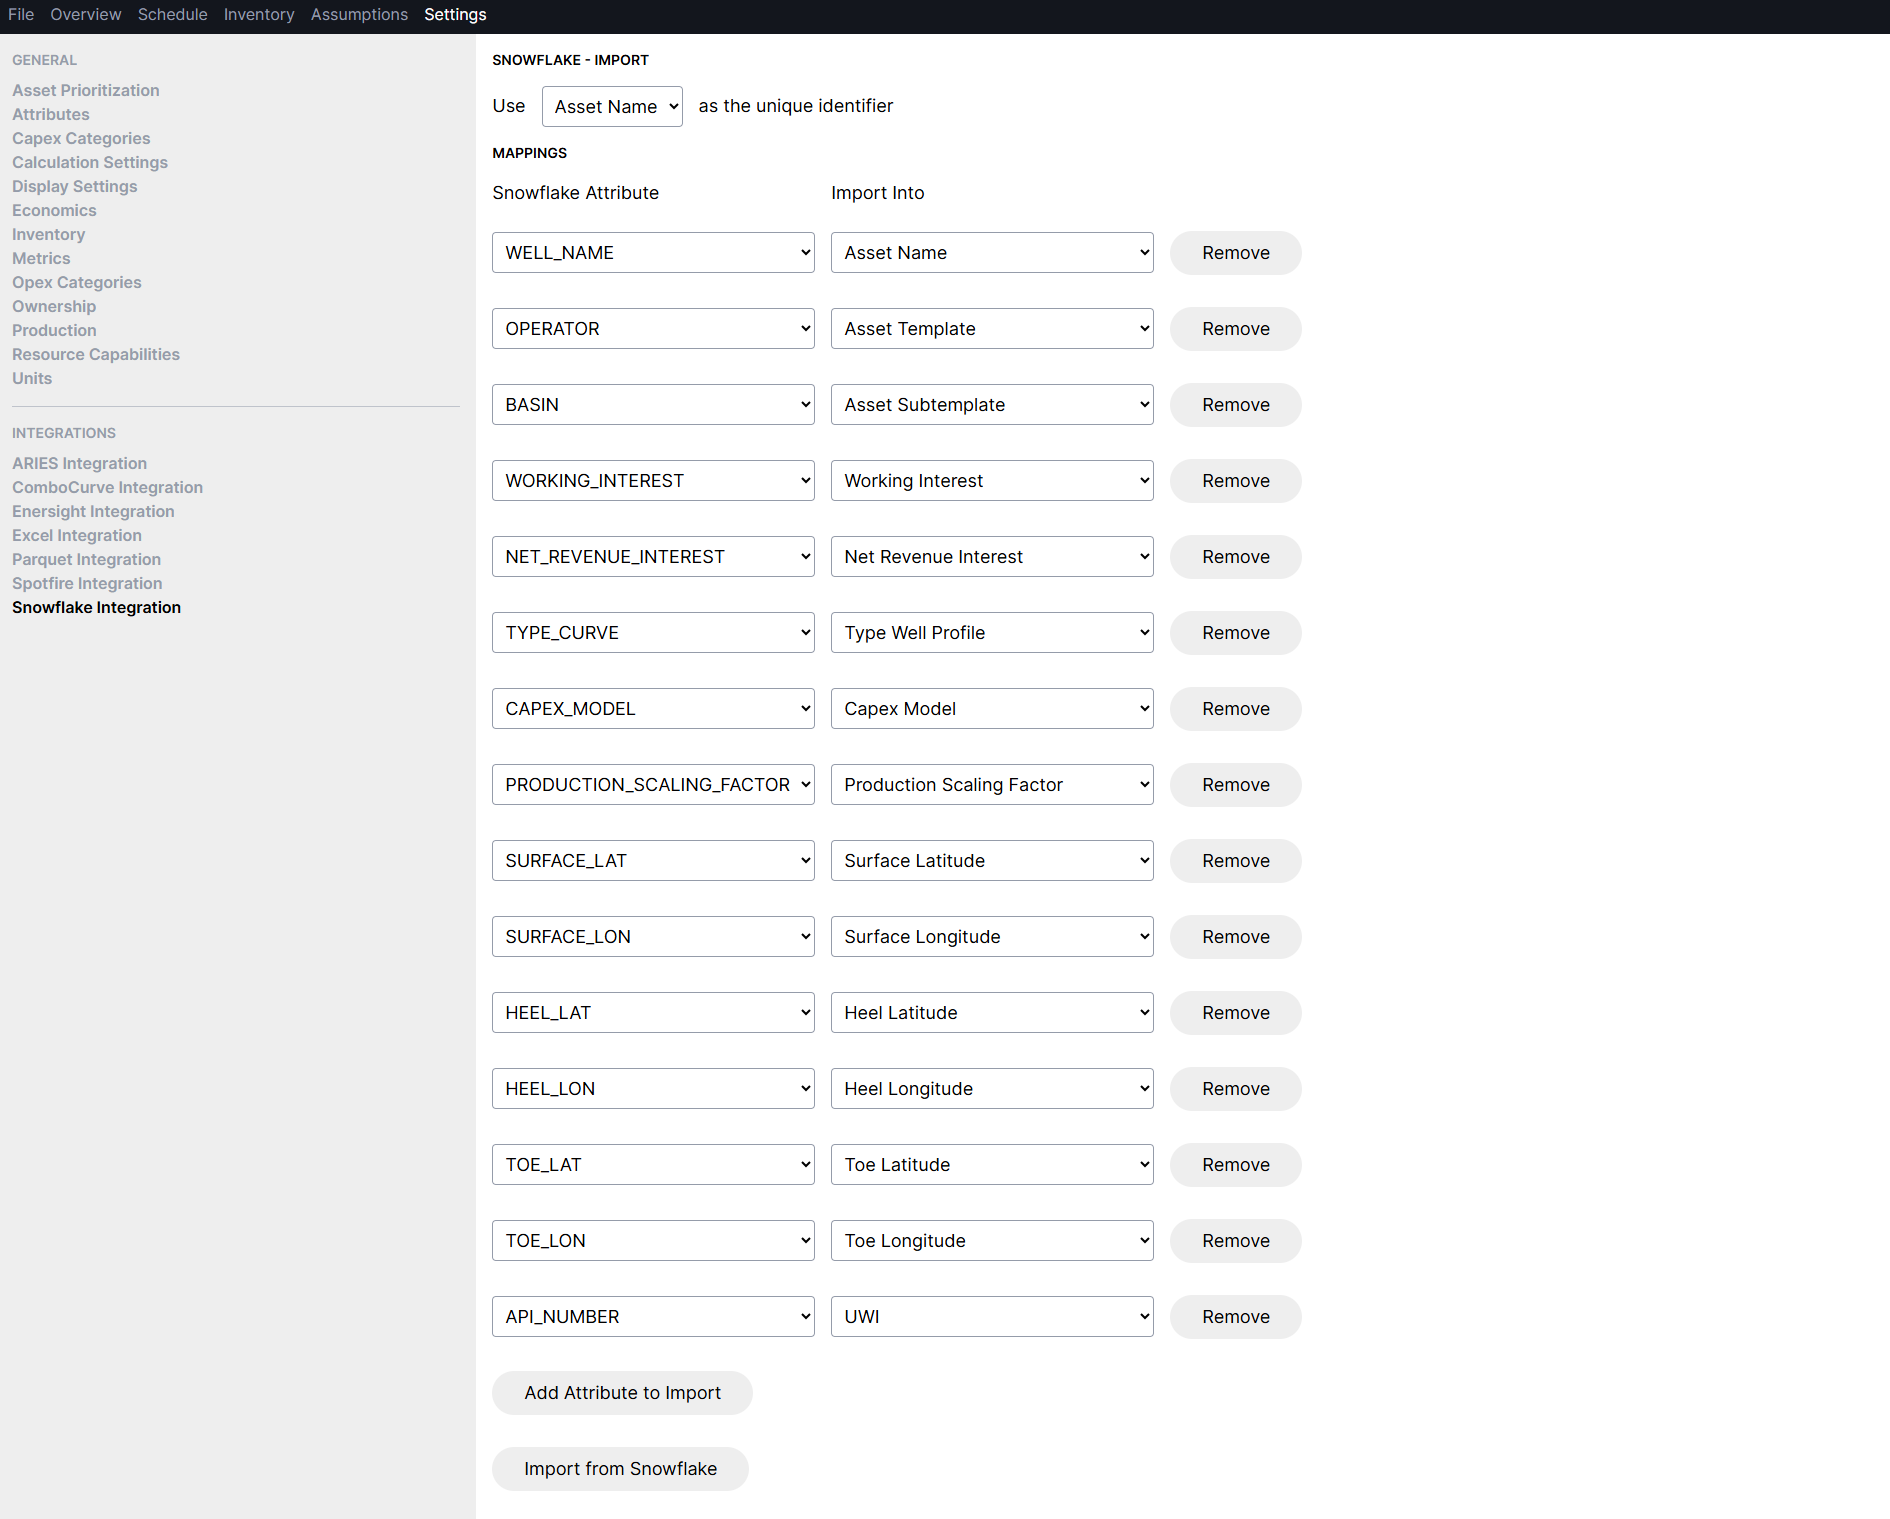
If the connection is successful, the mappings screen will populate with attributes found in Snowflake. Configure mappings to align with Planner fields in the "Import Into" column. You can remove any unnecessary fields that you wish to exclude.
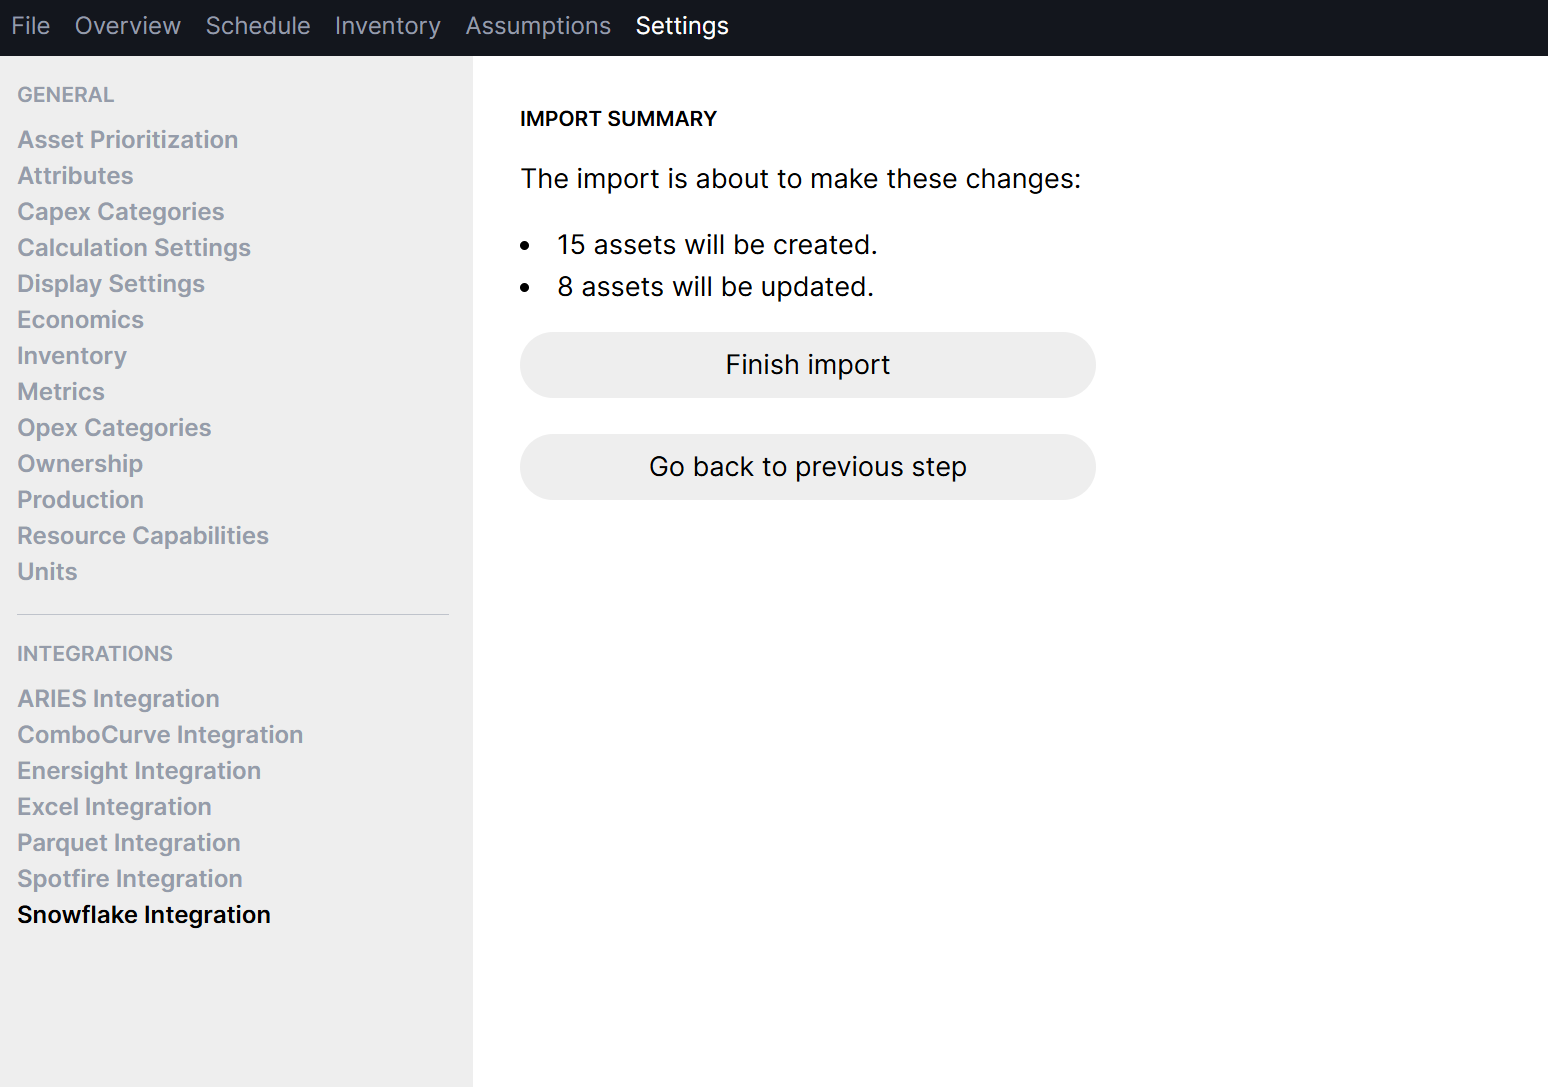
Run the import by hitting "Import from Snowflake". You'll see a confirmation screen that summarizes how many assets will be created versus updated. If you see any issues, you can "Go back to the previous step" instead of finalizing the import.
Note: the direct Snowflake integration is import only at this time. For exporting data from Planner to Snowflake, we recommend using the Azure Blob Storage approach, which uses the Parquet data format. For more information feel free to reach out to us, or check out this help article: Parquet Integration | Azure, Power BI, Snowflake | Data Export